Sunchaser Awning Spring Tension

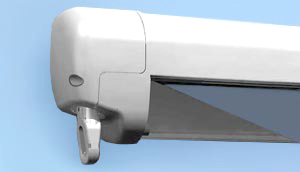
Dometic A E 3309932 006b Sunchaser Ii Awning Torsion Assembly Rh White Awning Assembly It Cast

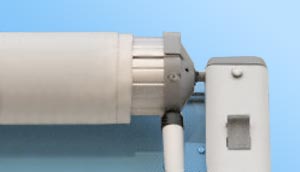
Dometic A E 3108399 019b Rv Awning Torsion Assembly Lh White Awning Assembly Installation Manual

Pin On Hairstyles

Caravan Awning Tensioner And Caravan Awning Clips Youtube
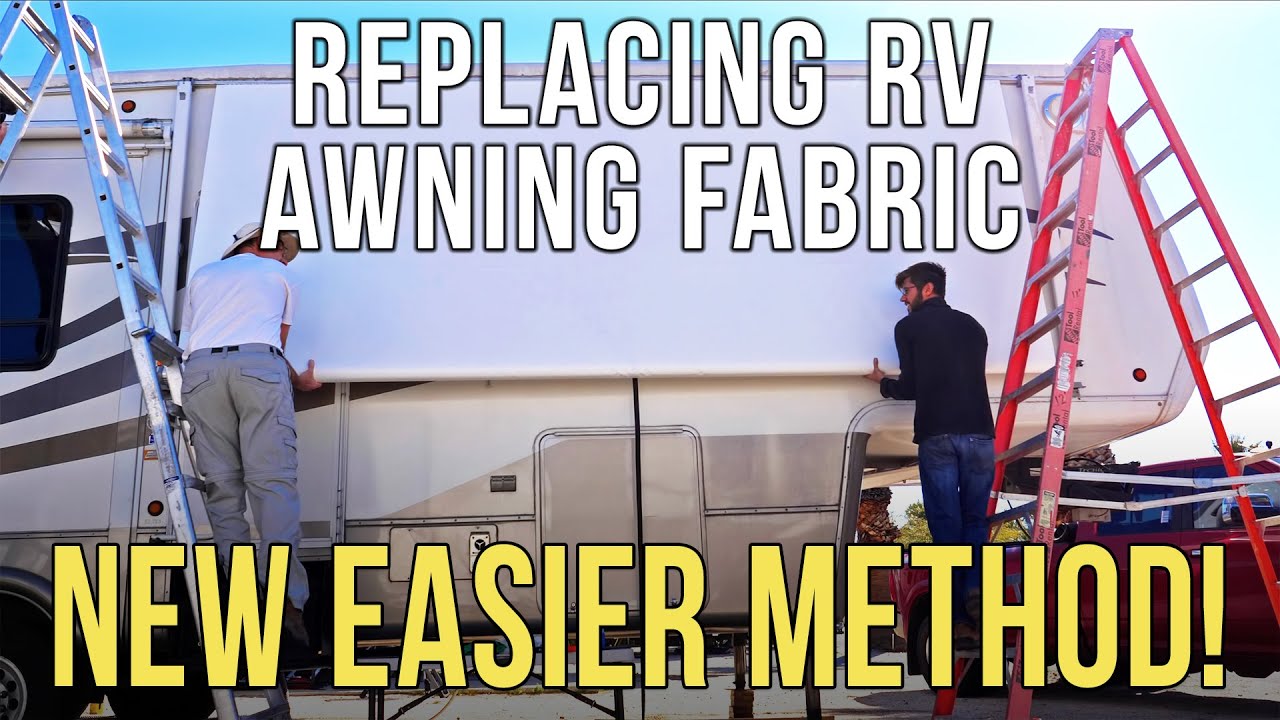
Solera Awning Replacing A Manual Awning Spring Assembly Youtube

Rv Awning Repair Re Tensioning The Spring Doityourself Com
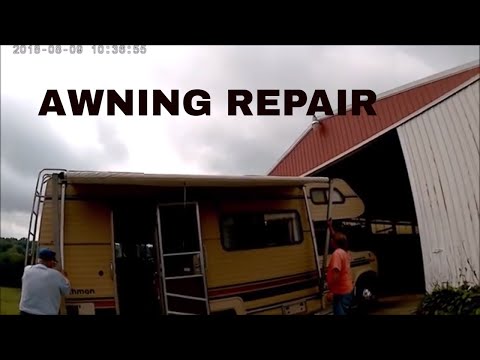
This method may be slightly less effective but it s easier if you have no one to help.
Sunchaser awning spring tension. Dometic 3311311 000b right torsion spring for 2 step awning. For more information call 5. View a complete step by step instructional tutorial for replacement of a new or damaged solera manual awning spring assembly. Although you must trim plastic tab from inside of end cap.
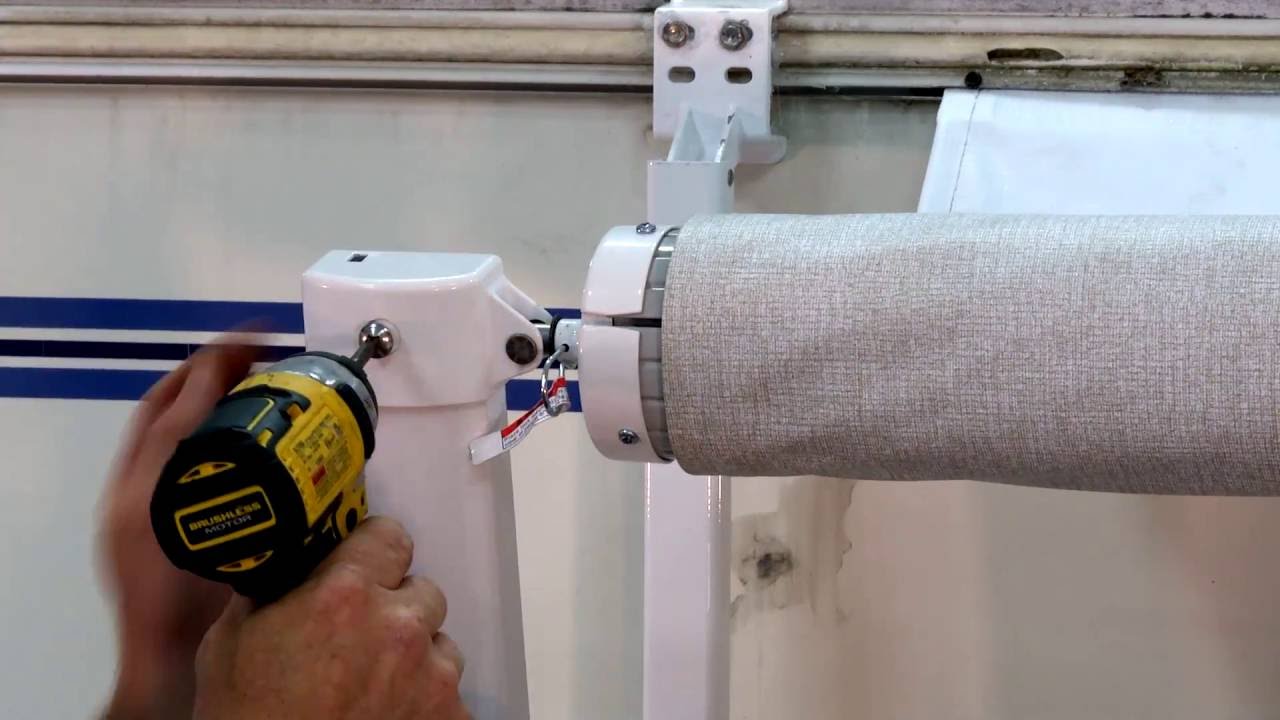
For proper awning operation the roller tube is under spring tension from the torsion assemblies. Improper release of this spring tension can result in damage to the awning severe per sonal injury or both. Carefree 850001 white pioneer crank out rv awning upgrade endcap kit. The sunchaser has all the dometic qualities rvers have trusted for years in a full featured easy to operate manual awning at an affordable price.
If you are satisfied move on. Position so the pole pushes the awning out adding tension to the fabric. Easy replacement for sunchaser awning. Received the new spring today.
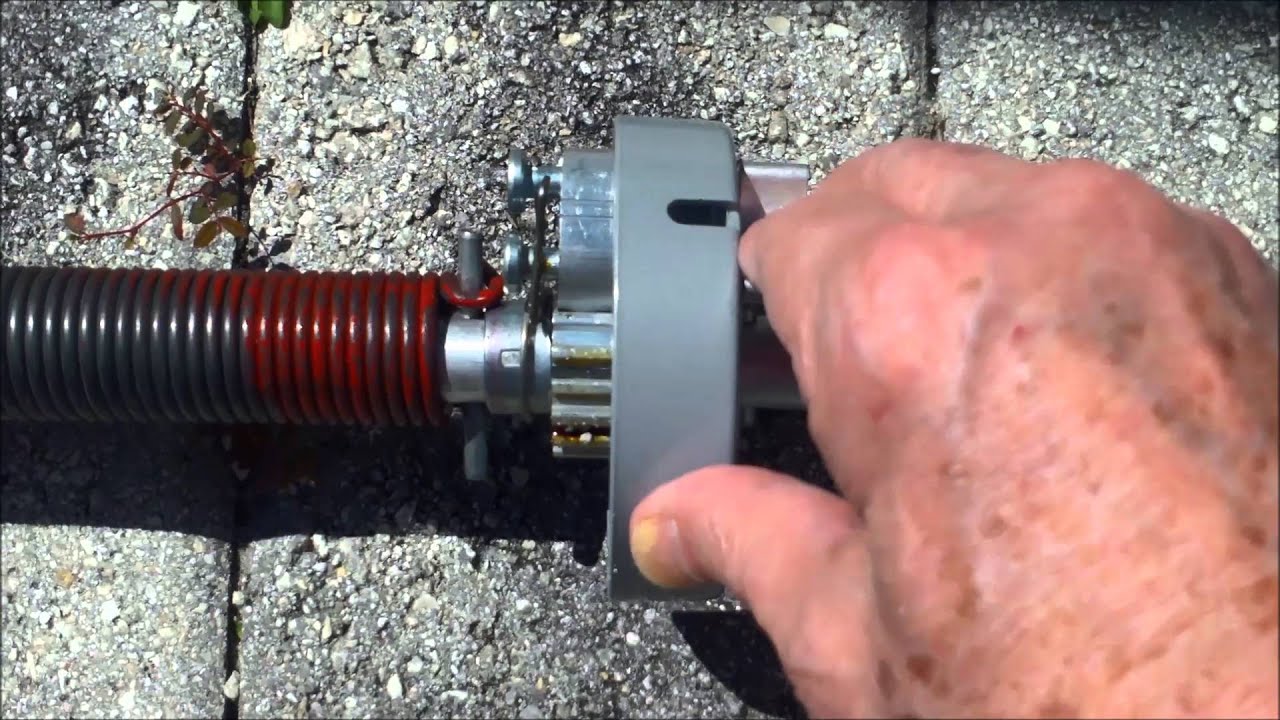
Place the step stool near the lip of the awning. Special aluminum poles often accompany the rv awning for this use. Only rotate the legs one or two turns at a time and don t do more than 4 or 5 total. When you release the tension in the spring the cotter pin that is inserted in the holes in the awning arms are removed.
These instructions must be read and under stood before installation of this kit. Partially or fully extend it up to 8 in either carport or patio position. The cotter pins are the ones that lock the spring tension securely while taking down the rv awning. If you over tighten the spring it will break.
Mark or make note of the location of the fabric and the end cap on the roller tube. Roll the awning back up to observe how tight it is. Some diyers prefer to adjust the tension in each arm separately rather than releasing both at the same time. Make sure the torsion spring has been relieved of its tension see section c 2.
Now that you are going to re tension the spring it s time to insert it back after you have reinstalled the torsion assembly. You do not need to put the screws back in. If not then repeat the previous steps. Push the aluminum pole in its extended length up to the rv wall and down to the lip of the awning under the awning itself.
Automatic fabric tensioning and ergonomically designed lock knobs make it a breeze to operate.

Dometic 8300 Sunchaser Roll Up Awning Caravan Awnings Annexes Caravan Rv
Dometic 8300 Awning On Roll No Arms Caravan Parts

Dometic A E 3309932 006b Sunchaser Ii Awning Torsion Assembly Rh White Awning Assembly It Cast
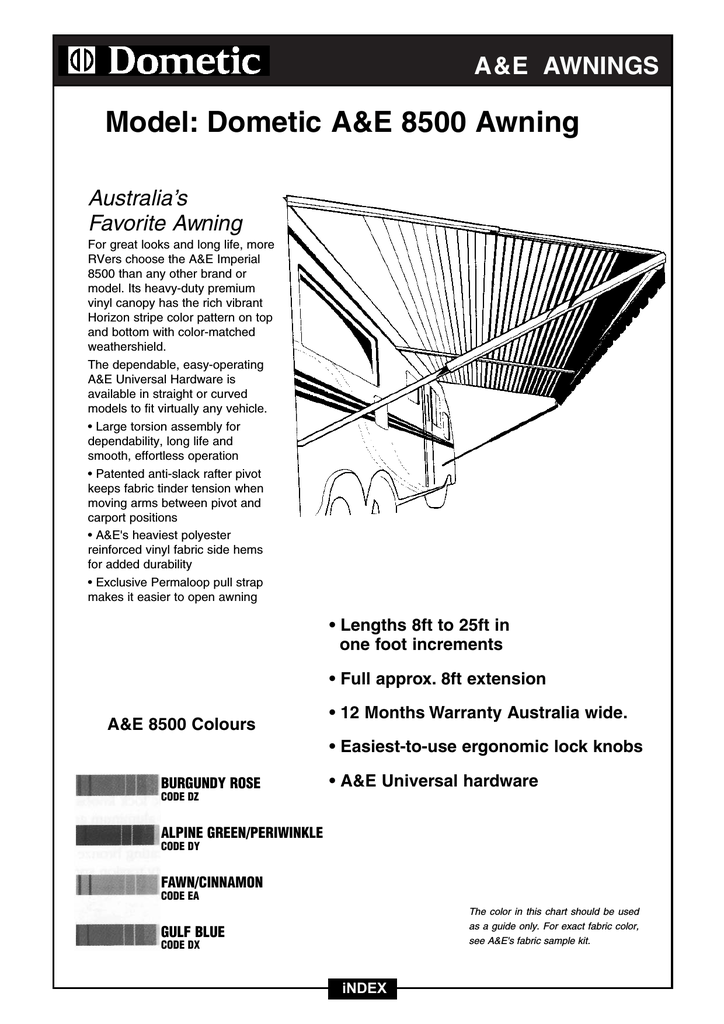
Model Dometic A E 8500 Awning Manualzz
Awning Spring Assembly Youtube

Awning Parts Awning Spare Parts Carefree Parts Annexe Spare Parts Roll Out Awning Parts

Caravan Awnings Complete Guide For Caravaners Allbrand Caravans

Caravansplus Dometic 8300 Awning 16ft Granite

Dometic 3108398 029 Heavy Duty Torsion Assembly Rh Grey Heavy Duty Water Heater Maintenance Rv Parts

Dometic A E 8271000 401b Rv Sunchaser Awning Arm Hardware Kit Fabric Awning Pergola Outdoor Living Patio Awning

Awnings Wall Mounted Dometic

Dometic 8500 Awning 16ft Onyx Black Caravansplus
Https Www Caravansplus Com Au Pdf 8500 20manual 20 Pdf

How To Adjust The Spring Tension Youtube

Dometic 8300 Awning 13ft Granite Fabric On Roll No Arms Ebay
Caravansplus The Complete Guide To Caravan Awnings
What To Do When An Awning Won T Go In Rv Repair Club Q A
Caravanning Guide Caravan Anti Flap Kit Guide Caravan Parts
Https Encrypted Tbn0 Gstatic Com Images Q Tbn 3aand9gcqrfs3ttwptkdsibks9jscxtdxhrg6rahmjsjqoe74hzcrvuumx Usqp Cau

Dometic 3309932 006u Awning Right Hand Torsion Assembly Awning Right Hand Assembly

How To Adjust Your Awning Fabric Youtube
Caravansplus Dometic 8500 Awning 11ft Azure Blue

Dometic 200 9500 Series Hard Case Manual Awning Vinyl Fabric 15 Ft Vinyl Fabric Awning Vinyl

Pin On Awning


Retracting Triangular Shade Sail Shade Sail Pergola Ideas For Patio Pergola Plans

Custom Pink And White Striped Awning Valance Scalloped Edge Awning Canopy Canopy Curtains Valance

Caravansplus Dometic 8300 Awning 13ft Granite

Kitchen Awning Traditional Kitchen Decor Green Kitchen Decor Kitchen Themes

3 41 M Kitchen Awning Sunshade For Jayco Swan 90 20 Postage Jayco Remodeled Campers Awning

Pin On Paris Themed Room For Girls
How To Replace A E Dometic Twostep Awning Fabric Youtube

Musings From A French Cottage Window Awning Tutorial Kitchen Window Treatments Home Diy Awning

9 6 07 Patio Awning Diagnostic Service Manual A E Manualzz

Auto Prices Awnings Used Awnings For Sale Automatic Retractable Awning Designed For Conservatories Easy To Awnings For Sale Patio Canopy Retractable Awning

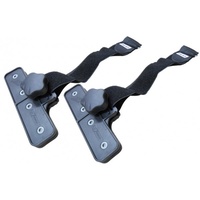
Awning Storm Tie Down Straps In 2020 Tent Pegs Tie Down Straps Camper Awnings
Rv Awning Retract Spring Replacement Youtube

Dometic A E 858 Rv 8500 Series Manual Patio Awning Assembly Hardware Patio Awning Awning Patio

Retensioning A Dometic A E Rollout Awning

Full Cassette Retractable Awning 1 Anti Wind Gas Spring Arm 2 Front Bar With Guilding Gutter 3 Built False Ceiling Design Retractable Awning Ceiling Design
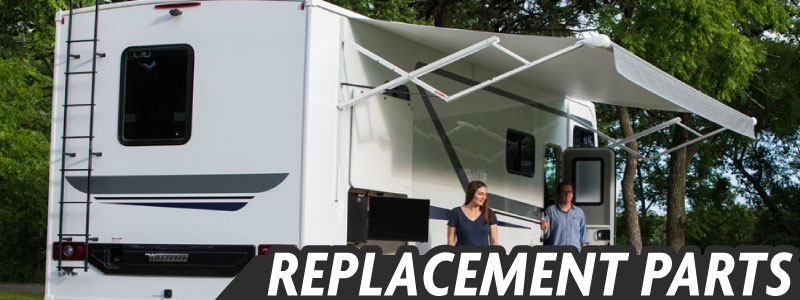
Product Catalog Carefree

Camping Shower Camper Van Rear Doors Fiamma Van Rear Door Cover Awning Fiat Ducat Camper Organization Travel Trailers Mini Camper Camper Van Conversion Diy

