Sunchaser Awning Installation Instructions

Dometic A E 8271000 401b 1 Rv Sunchaser Awning Arm Hardware Single In 2020 Pergola Outdoor Living Patio Awning Fabric Awning

The Sunchaser Has All The Dometic Qualities Rvers Have Trusted For Years In A Full Featured Easy To Operate Manual A Camper Awnings Fabric Awning Patio Awning

Dometic A E 8271000 401b Rv Sunchaser Awning Arm Hardware Kit Fabric Awning Pergola Outdoor Living Patio Awning

Dometic A E 3108399 019b Rv Awning Torsion Assembly Lh White Awning Assembly Installation Manual

46 Dometic Awning Installation Instructions Home Decor

Dometic A E 3309932 006b Sunchaser Ii Awning Torsion Assembly Rh White Awning Assembly It Cast

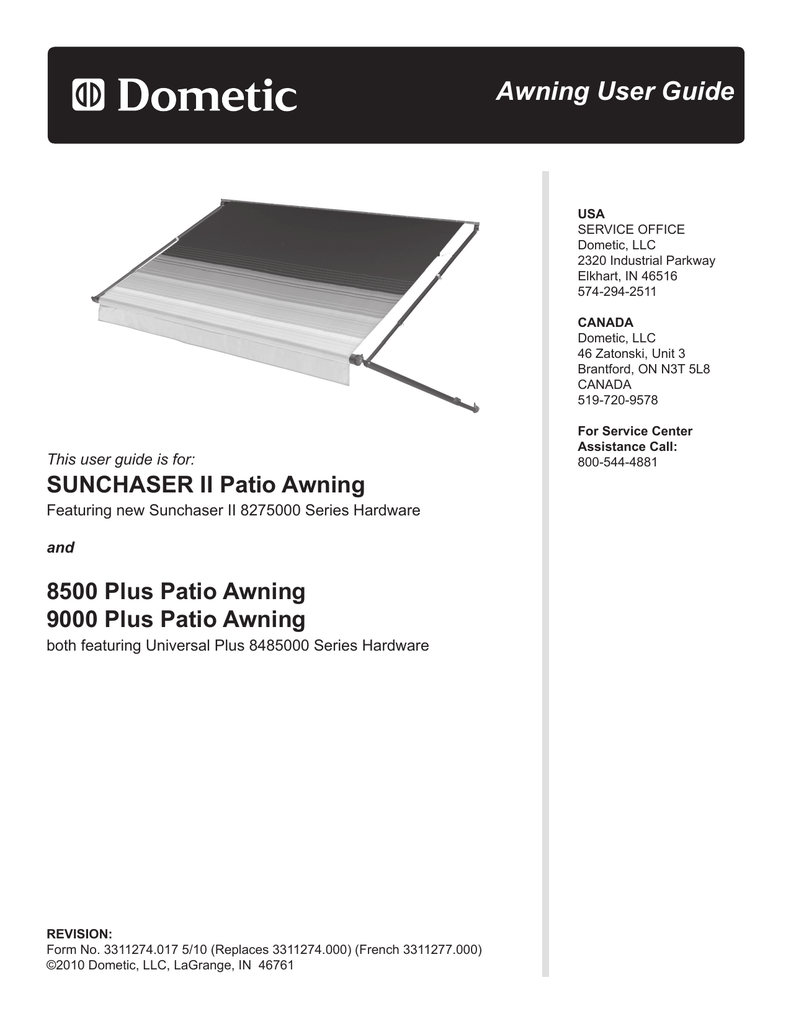
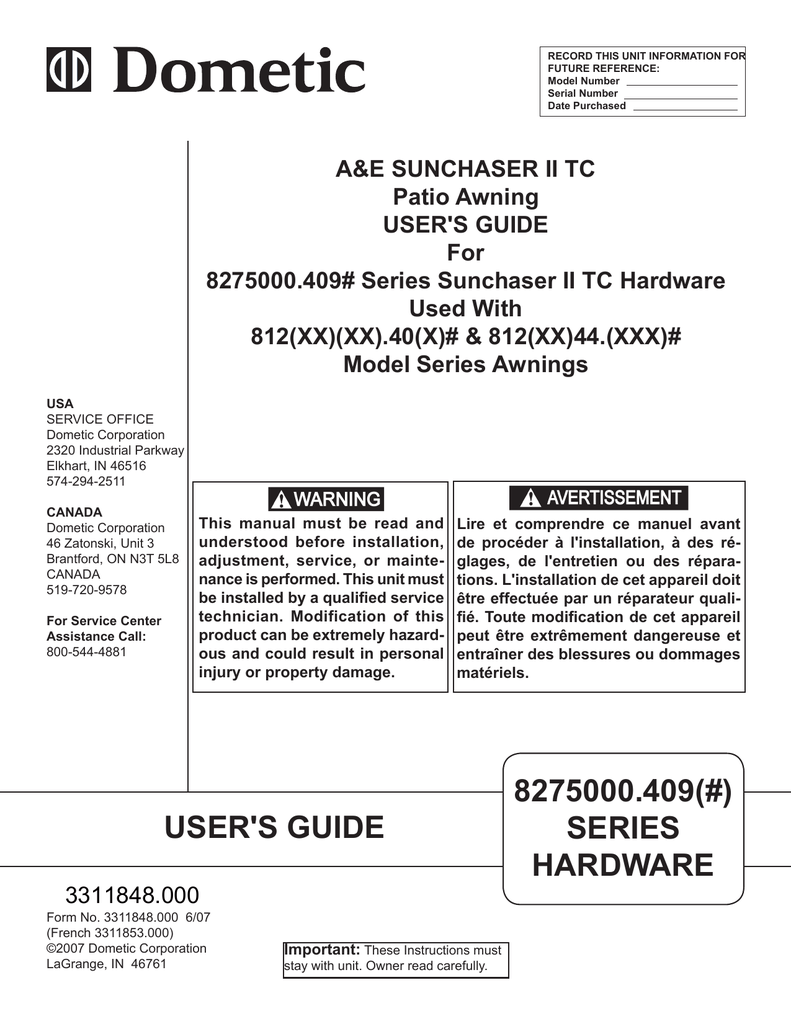
Sunchaser 8500 9000 awnings user s guide 3 important never leave the roller tube level with the awning rail adjust both arms of the universal hard ware 7 to 8 adjustable arm holes below awning rail fabric slope approximately 10 degrees.
Sunchaser awning installation instructions. Insure the arm top centered with the main support arm. Designed for all weather conditions this awning is strong secure and easy to operate with one hand. Remove both of the patio feet from their mounting. Mark the top bracket position and predrill the two 3 16 diameter holes drill 7 32 diameter if into steel.
Apply silicone sealant to screw threads and where the screws enter the coach. Dometic 8300 sunchaser awning this 13 roll up awning has polyester reinforced vinyl fabric in granite colour and an attractive horizon pattern on top. Wrap gray tape around the arm and rafter to hold them together. Pinch lock to release rafter from main arm assem bly and loosen rafter knobs.
Remove the screws securing the awning fabric at each end of the awning rail. Install bottom brackets place top pivot in position over awning rail from below snap the patio foot on the bottom of the inner arm into the as shown in fig. Sunchaser hardware should be in the water shed position. This manual has safety information and instruc tions to help users eliminate or reduce the risk of accidents and injuries.
To open awning safety instructions 1. Align pivot directly behind and bottom bracket. Special discount for rvgeeks viewers. 8 8a 8b.
Secure awning to awning rail 7. Place main support arm on the top pivot. Electric powered awnings a big part of purchasing an awning kit or parts is deciding which type of awning you want to install. Safety instructions sunchaser 8500 9000 awnings user s guide a.
Repeat on opposite end of awning. Install top bracket with two 14 x 3 hex. Place a 1 8 cardboard or wood spacer between the arm and the rafter. Proceed to section c steps 1 2 sections d steps 1 3 section l steps 1 4 and section m steps 1 3.

Dometic 8300 Awning 10 To 16 Feet Roller Tube Fabric No Arms Coastline Rv

Dometic 8300 Sunchaser Awning Wall Mounted Awning

Dometic B3105699 Sunchaser Patio Awning Replacement Fabric Custom Patio Awning Awning Patio

Dometic A E 858 Rv 8500 Series Manual Patio Awning Assembly Hardware Patio Awning Awning Patio
Dometic Universal Series Sunchaser 8300 Patio Awning Installation Manual Manualzz

Dometic Sunchaser Patio Awnings Dometic Rv Patio Awnings Camping World Patio Awning Patio Canopy Patio

Dometic 3309932 006u Awning Right Hand Torsion Assembly Awning Right Hand Assembly
Https Www Caravansplus Com Au Pdf 8500 20manual 20 Pdf

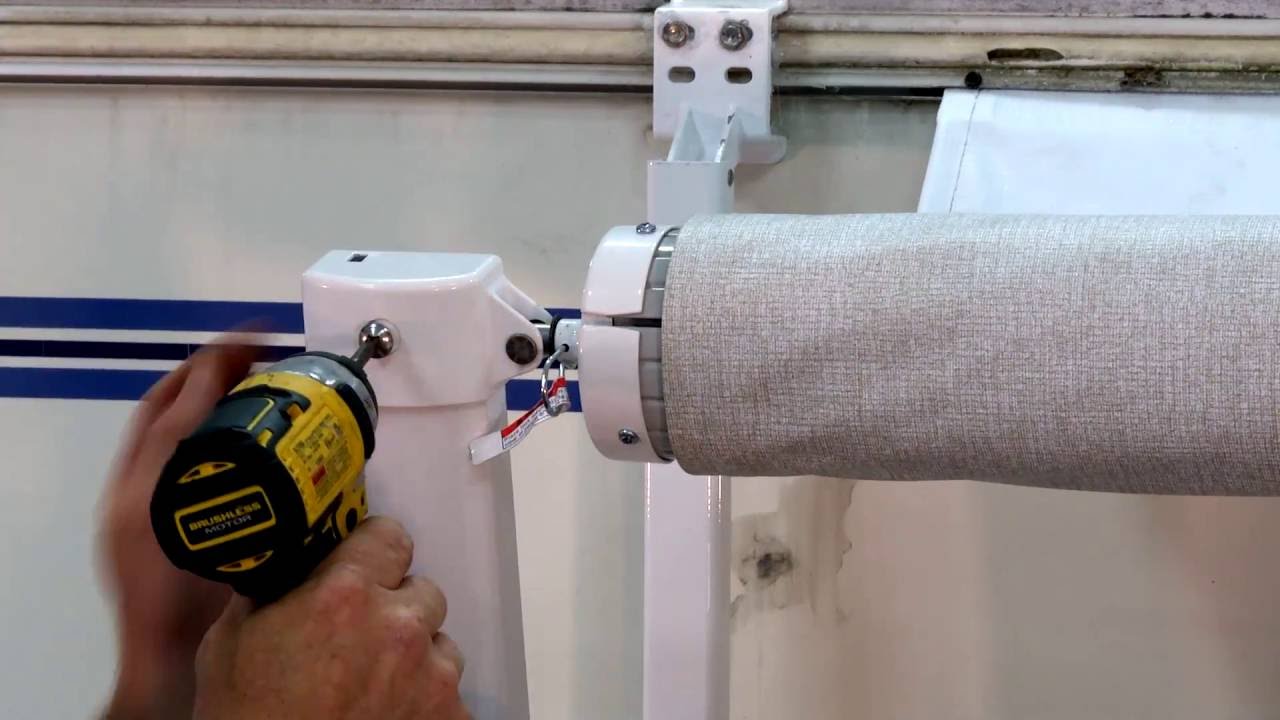
Dometic Sunchaser Awning Youtube
Dometic A E Sunchaserii 8500 Plus And 9000 Plus Manual Patio Awning Manualzz

Dometic Black Universal Tall Awning Arm Hardware Set Awning Universal Rafter
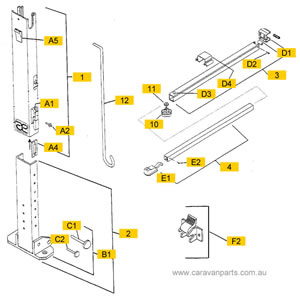
Dometic 8300 Awning On Roll No Arms Caravan Parts

Pin On Hairstyles
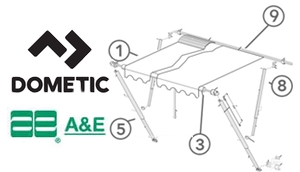
Caravansplus Spare Parts Diagram Dometic A E Awning Diagrams

How To Install A Dometic Awning By Makarios Rv Youtube

The Sunchaser Has All The Dometic Qualities Rvers Have Trusted For Years In A Full Featured Easy To Operate Manual Awnin Patio Awning Awning Screened In Patio
Solera Awning Replacing A Manual Awning Spring Assembly Youtube

Dometic Sun Chaser Polar White Blue Stee Buy Online In Brunei At Desertcart

Dometic A E 803 Sunchaser Awning Parts Breakdown

Awnings Wall Mounted Dometic

9 6 07 Patio Awning Diagnostic Service Manual A E Manualzz

Freedom Patio Awning By Carefree Campout Awning Patio Awning

Sunchaser Ii Parts List Manualzz
Https Www Rvwarehouse Com Au About Library Docs Ae8300 Operating 23 Pdf
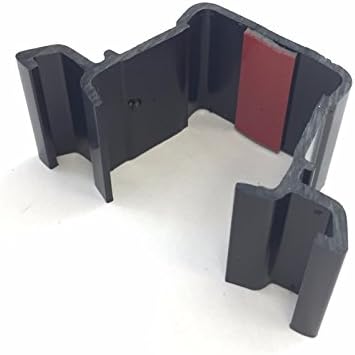
Dometic 3105278 126 Travel Latch For Sunchaser 8300 Awnings Amazon Com Au Automotive

16 Beautiful Picture Of Rv Camper Awning Vinyl Canopy Replacement Camper Awnings Awning Awnings For Sale

Dometic 8300 Sunchaser Rollout Awning A E 12ft Blue Steel No Arms Caravan Rv Camping

225 Sunchaser Awning Fabric Home Decor

Dometic Roll Out Awning Rafter Arm Slider 887615323157 Ebay

Dometic B3105699 Sunchaser Awning Replacement Vinyl Fabric Only Camper Trailer Rv Rv Rental Camper Trailers Rv

A E Sunchaser Dometic Awning Spring Assembly Replacement Youtube

Dometic A E Awning Replacement Lift Handle 830644 Camper Awnings Rv Trailers Awning

Dometic A E 917 Rv 12v Power Patio Awning Tube Fabric Patio Awning Awning Vinyl Fabric

Tmp12063 0960 Pontoon Boat Pontoon Boat
Dometic Universal Hardware Awning Hardware Tall Polar White

Rv Awnings New Used Rebuilt

Universal 8500 Sunchaser Awning Hardware Heavy Duty Short White

Dometic Sunchaser Patio Awnings Dometic Rv Patio Awnings Camping World Camping Supplies Camping World Rv Camping Checklist

How To Replace Your Dometic Awning By Makarios Rv Youtube
Sunchaser Ii User Guide Livin Lite Recreational Vehicles Manualzz
Https Www Dometic Com Assets 47 88 Installation 20manual 64788 Pdf Att True

Manual Lateral Ducted Adb Cool White 8330 763 Air Conditioner Parts Rv Air Conditioner Parts And Accessories

Op Ed We Re Semi Retired And Living In An Rv It S Not As Ghastly As It May Sound Recreational Vehicles Road Trip Rv

